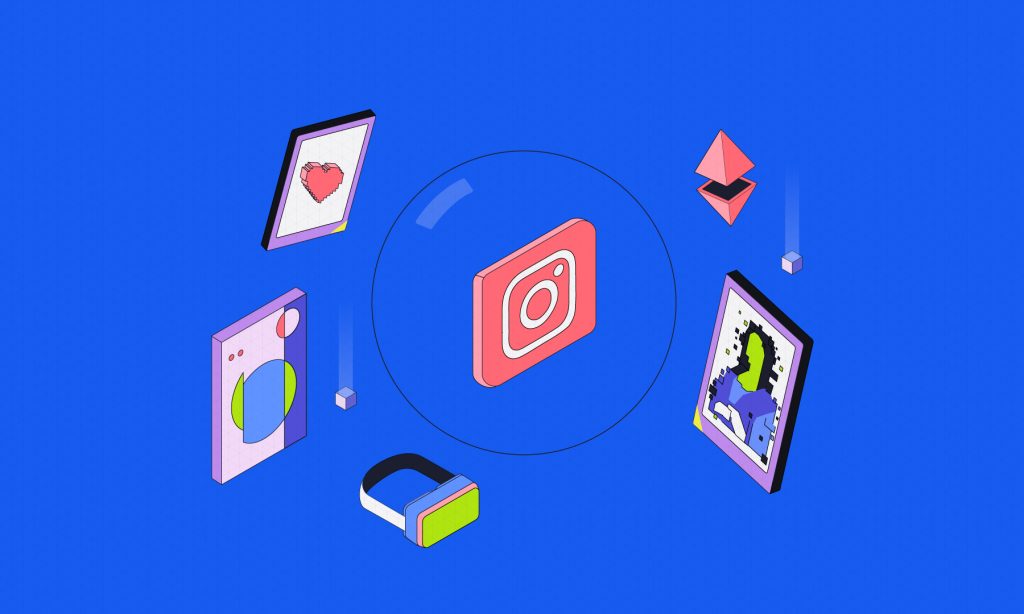
The NFT marketplace has changed the concept of digital goods and how you evaluate their worth. Bringing creators, collectors, gamers, and business owners together, the NFT industry is booming. In the past two years, NFTs have transformed from novel abstractions to commonplace things. Recently, Meta announced that there will now be NFTs on Instagram. With their social media foray, there has never been a better time to sit up and try to catch up.
What is an Instagram NFT?
Images, songs, and videos can all be stored on a blockchain as Non-Fungible Tokens (NFTs). What’s an NFT? An item that is “non-fungible” is unique and cannot be duplicated. So an NFT is a digital token that’s truly one of a kind. And anybody can verify its authenticity through its ownership history at any moment. Instagram NFTs are essentially such digital collectibles on the Instagram platform.
An NFT on Instagram can be owned, traded, and sold on the platform. All of that is thanks to Meta’s decision to adopt NFTs and blockchain technology.
How to sell NFTs on Instagram
Given the debut of NFTs on Instagram, the foremost question on many minds is: How to sell NFTs on Instagram? First things first, you must have a digital wallet account. The good news is that Facebook and Instagram do not now charge any fees for uploading or sharing digital files. The bad news is that it may be a while before you can do any of this in India. Still, here’s how you can get started when it does happen.
Step 1: Connect your digital wallet to Instagram
Initially, you will need to link your digital wallet to the service. A digital wallet is a device to stores and transfers digital assets. You can use them to store coins, tokens, and NFTs used in the metaverse/crypto industry. MetaMask, Trust Wallet, and Rainbow are some examples of digital wallets.
Instagram works with Solana, Ethereum, Polygon, and Flow blockchains. However, only with the Polygon network can you buy and sell digital memorabilia.
Users can add digital collectibles to their account after logging in and selecting the “Digital Wallet” under the “Options” menu. After you have completed the required verification steps, the “Connect Wallet” option will become available.
After selecting the “Connect wallet” option, the platform will direct you through a series of steps. As soon as you finish them, you will be told that you can deactivate your wallet if you wish to. The app will also inform you about your privacy preferences, inviting you to decide who can label you the developer of an NFT, among other things.
Finally, the app will ask for your verification. To finish the authentication process, check your wallet, and respond to the request sent there.
Step 2: Pick the NFT to share on your feed
After connecting your wallet to the site, you will be eligible to choose any token from your collections. To do this, go to the options menu and select “Digital collectible” as your mode of operation. All virtual items in your wallet are cataloged in one location, making it very convenient.
Step 3: Add the caption, hashtags, and ownership information
Before you post, you must enter the token information. It’s important to add descriptive text and relevant hashtags. This is simple enough as it is just like when you post a photo in a reel.
You may also credit the designer of the NFT. It’s also possible to disable comments, conceal the number of likes people give your posts, and more. Look for these options in the “options” menu.
Step 4: Create NFTs on Instagram
In a recent statement, Meta revealed that users can now develop their own digital libraries and sell NFTs via Instagram. However, the feature has yet to roll out in countries other than the US.
To generate NFTs on the network, users will have to first click the plus sign (+). Next, choose “Digital Collectibles” from the drop-down box. Finally, select an image with a file size of less than 100 MB and label it. You may make anywhere between one and one hundred tokens in a single batch.
Remember, it helps if you give your collection an identity.
After this, choose the price you want to sell for. Then, upload any additional images and hit “Sell.” You can store the token/s in your wallet for as long as you want to.
Step 5: Post the NFT to your feed
Click the “Share” button to make your NFT public/show up on your feed. Once it goes live, you’ll be able to verify the image’s non-transferability by looking for a checkmark in the top right corner. The checkmark will appear when you hover over it.
If you click the icon, a new window will appear with information on the symbol’s author. In addition, there will be a shimmer effect on published NFT images to distinguish them from regular social media posts.
Step 6: Sell NFTs on Instagram
The ability to trade NFTs is also under testing. But let’s lay out the steps anyway so you can start making money from your digital artwork as soon as the option rolls out in your country. To put up NFTs for sale, you will need a business or creator account. Only Instagram-made digital collectibles may be bought and sold as of now in the US.
To upload your NFTs to the marketplace, first, create an ad and pick a price. After you’ve done this and clicked “done,” double-check to be sure everything is accurate.
Choose “send for review” to submit your digital collection. The essential step is picking the wallet to receive money. Then it’s just a matter of following the platform’s rules regarding community conduct and monetization.
Conclusion
We hope you now understand how to make NFTs and sell them. We know it’s going to be a while before you can sell NFTs in India, but when the feature does become available, you know where to turn for help.
FAQs
Can you create and sell your own NFTs?
It’s important to note that there may be associated costs, including gas fees for transactions and platform fees. Additionally, while anyone can create an NFT, not all NFTs may find buyers, so success can vary based on the demand for your content and the marketing efforts you put in.
How will NFTs be used in Instagram?
Instagram is evolving to accommodate NFTs by introducing features like Digital Collectibles and providing a platform for NFT creators to promote their work. Additionally, educational resources are available to help users navigate the NFT space on Instagram effectively.
How do I convert Instagram posts to NFT?
It’s essential to review the guidelines and fees of your chosen NFT marketplace, as each platform may have its own requirements and costs associated with minting and listing NFTs. Additionally, consider the legal and copyright implications of converting your Instagram posts into NFTs to ensure you have the necessary rights to do so.
Is creating NFTs profitable?
creating NFTs can be profitable, but it’s not guaranteed, and success depends on various factors, including strategy, market conditions, and costs. It’s advisable to approach NFTs with careful consideration and a willingness to adapt to the evolving landscape.


