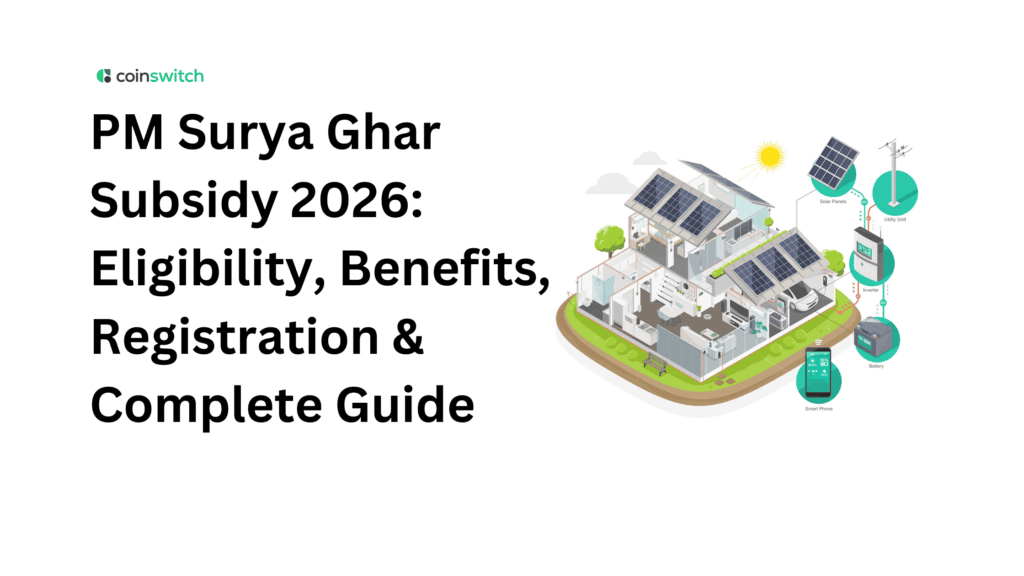
Electricity bills in every household of India are rising. To tackle this and help families tackle financial burden, the government has PM Surya Ghar Subsidy. This flagship central initiative was created to help households install rooftop solar systems at a very affordable cost and adopt green energy trends.
In 2026, the program is a national sensation. It smoothly fuses high-value subsidies, a direct-to-bank transfer framework, digitized registrations, and massive utility relief. In this blog, we will take a detailed look at this blog.
Read more: Green Business Scheme: Loans for EVs & Solar Gadgets
What is the Scheme/Subsidy?
Officially named PM Surya Ghar: Muft Bijli Yojana, this central government program funds residential rooftop solar setups to alleviate household energy bills.
The highlight? The scheme targets delivering up to 300 units of free electricity monthly to participating homes, contingent on your solar generation and consumption pattern.
The mechanism is simple: the subsidy is structural financial assistance deployed via Direct Benefit Transfer (DBT). It hits your bank account right after system installation, net-metering setup, and DISCOM inspection. The government shoulders a massive portion of your capital costs, handing you long-term financial relief.
Latest Updates (2026)
This initiative is accelerating at a staggering velocity. In 2026, national deployment has surged past 26 lakh installations at scale (with over 40 lakh homes fully solarized nationwide).
The entire workflow operates cleanly through the national portal and regional DISCOM pipelines. Additionally, the subsidy layout is now structured into crystal-clear capacity tiers (1 kW, 2 kW, and 3 kW). Homeowners can instantly compute their savings prior to applying. The main takeaway for your blog: the scheme is thriving, actively expanding, and more transparent than ever.
Objectives
- Affordability: Drastically cut upfront costs to bring residential solar to ordinary families.
- Cost Control: Shield consumers from recurring tariff hikes by maximizing local generation.
- Process Simplicity: Move away from stressful offline loops through an integrated digital layout.
- Green Transition: Move India closer to its non-fossil fuel targets directly from residential roofs.
Key Benefits
The core advantage is permanent reductions on your electricity bills. Generating power right on your roof minimizes your reliance on the grid, providing immediate energy independence.
The government financial assistance heavily cuts initial setup expenses. Better yet, the structured portal-to-DISCOM flow means you follow a highly predictable, verified blueprint instead of a confusing offline scramble.
Subsidy Amount
The financial backing is tiered based on total benchmark capacity:
| System Capacity | Subsidy Rate Matrix | Maximum Central Subsidy |
|---|---|---|
| 1 kW | ₹30,000 flat per kW | ₹30,000 |
| 2 kW | ₹30,000 flat per kW | ₹60,000 |
| 3 kW and Above | ₹60,000 for first 2 kW + ₹18,000 for 3rd kW | ₹78,000 (Absolute Ceiling) |
Crucial Capping Rule: The tier operates at ₹30,000/kW for the initial 2 kW and ₹18,000 for the third kW. The central subsidy hits an absolute ceiling at ₹78,000 for all setups at or above 3 kW. If a homeowner builds a 5 kW or 10 kW plant, the central payout stays locked at ₹78,000.
Eligibility Criteria
To successfully unlock portal clearance, applicants must meet these baseline rules:
- Must be an Indian citizen with an active residential power connection.
- Must possess clear, legal access to a usable, structurally stable roof.
- The electricity bill should ideally match the applicant’s name.
- The property must not have availed of any prior solar panel subsidies.
- The applicant must provide a valid bank account to receive the automated DBT payout.
Who Cannot Apply?
Applications are immediately flagged or rejected under these scenarios:
- The target property is commercial, industrial, or non-residential.
- The roof has unresolved structural issues or disputed legal rights.
- The name on the utility bill fundamentally contradicts the applicant’s paperwork (without a valid NOC).
- The household is attempting to double-dip on an existing subsidized system.
- The local grid fails basic technical feasibility reviews during the DISCOM walk-through.
Documents Required
Tell your readers to organize this essential file package to eliminate portal processing delays:
- Identity Verification: Government-approved identification card.
- Utility Bill: Most recent electricity bill (to verify consumer number and sanctioned load).
- Financials: Clear bank passbook copy or a cancelled cheque (for the DBT route).
- Property Proof: Roof ownership documentation or a signed landlord NOC if renting.
- Photos: Recent passport-size photograph of the primary applicant.
How to Apply Online
The operational framework is fully digitalized:
Step 1: Registration
Navigate to pmsuryaghar.gov.in. Choose your state and DISCOM, then key in your Electricity Consumer Number, mobile number, and email.
Step 2: Form Submission
Log in using your consumer details, fill out the comprehensive rooftop solar form, and upload your latest utility bill.
Step 3: Feasibility Greenlight
The local DISCOM evaluates your roof grid capacity online. Wait for this formal feasibility clearance before purchasing hardware.
Step 4: Certified Installation
Once cleared, execute the physical setup only via an MNRE-empanelled vendor using ALMM-compliant domestic solar components.
Step 5: Net Metering Setup
Upload completion data to the portal and request net metering. DISCOM officers inspect the array and issue your commissioning certificate.
Step 6: Cash Back Disbursement
Link your bank details and submit a cancelled cheque on the user dashboard. The central assistance will be wired directly to your account.
Offline Application Process
Though the backend infrastructure is portal-driven, localized offline support is highly accessible. Applicants can consult DISCOM helpdesks, local energy development offices, or registered empanelled vendors. This physical layer helps with site mapping, component choices, and file compiling, but every single document must ultimately be uploaded to the official portal to clear inspection.
Application Fees
The national portal does not charge any application or processing fees to file for the subsidy. However, clarify for your readers that “subsidized” does not mean “zero cost.” Homeowners are fully responsible for paying the remaining balance to the vendor for hardware and labor after the subsidy is applied.
Processing Timeline
- Feasibility Review: 7 to 15 days from submission.
- Physical Setup: 3 to 7 days by your empanelled team.
- Net-Metering & Inspection: 15 to 30 days post-installation.
- Subsidy Payout: Arrives via DBT within 30 to 45 days following the upload of the commissioning certificate.
How to Check Status
Tracking is incredibly transparent. By logging into the national rooftop solar portal, users access a live dashboard that reflects clear operational milestones—such as Application Pending, Feasibility Cleared, Net-Metering Approved, or Subsidy Disbursed.
State-wise Benefits
The central government’s ₹78,000 cap applies uniformly across the country. However, regional incentives can alter final pricing. States like Rajasthan, Gujarat, and Maharashtra step up to provide additional state-level top-up subsidies, giving local residents even faster paths to payback.
Participating Banks/Departments
The ecosystem is governed by the Ministry of New and Renewable Energy (MNRE), local DISCOMs, and empanelled installers. To make capital easier to access, premier nationalized entities (like SBI, PNB, and Bank of Baroda) offer collateral-free solar loans up to ₹2 lakh at highly attractive, low interest rates.
Common Reasons for Rejection
- Non-ALMM Hardware: Deploying unlisted panels that fail to meet strict domestic manufacturing rules.
- Mismatched Identity: Discrepancies in spelling between utility bills, bank profiles, and portal forms.
- Unapproved Installers: Using uncertified local technicians instead of registered, empanelled vendors.
- Load Violations: Sizing a solar system that exceeds your home’s current sanctioned load without upgrading your DISCOM profile first.
Tips to Improve Approval Chances
- Audit Your Spellings: Ensure all identifying text across your bills and bank profiles matches perfectly.
- Verify Vendor Status: Confirm your installer is active and sourcing authentic Domestic Content Requirement (DCR) modules.
- Prep the Site: Clear your roof of shadows, physical clutter, or construction issues before inspectors arrive.
Latest Government Updates
Official data moving through 2026 underlines the program’s unparalleled momentum, highlighting billions of rupees disbursed across millions of residential properties. Backed by automated workflows and clear pricing tiers, this program stands tall as a sustained, incredibly successful national solar movement.
Conclusion
The PM Surya Ghar Subsidy is an outstanding, highly pragmatic option for Indian homeowners looking to break free from volatile utility rates. It provides a clean, predictable template to secure massive central funding while boosting home equity. Keep your blog execution sharp: outline the specs, highlight the timeline, and call out the documentation traps to give your readers an effortless path to approval!
FAQs:
What is PM Surya Ghar Subsidy?
It’s a central government scheme giving financial aid for home rooftop solar installations. It slashes monthly electricity bills and helps families lock in up to 300 free power units.
Who is eligible for PM Surya Ghar Subsidy?
Indian citizens with residential properties and clear, undisputed roof rights can apply. The power connection must match the applicant’s name, and commercial setups are completely banned from applying.
How can I apply for PM Surya Ghar Subsidy online?
Register at pmsuryaghar.gov.in, upload your latest utility bill, wait for DISCOM feasibility approval, choose an empanelled vendor for setup, pass the final inspection, and submit your bank details.
What documents are required for PM Surya Ghar Subsidy?
You just need your identity card, your latest electricity bill, a bank passbook or cancelled cheque for the cash transfer, property roof ownership proof, and a passport-size photo.
How can I check the application status for PM Surya Ghar Subsidy?
Log into the official national portal (pmsuryaghar.gov.in). Your live account dashboard tracks milestones like Feasibility Cleared, Vendor Installation Phase, Net-Metering Approved, or Subsidy Disbursed.